In the Operating Room with Dr. Jacob Bloom
As a photographer in Chicago, I usually focus on capturing the city’s incredible architecture. I typically point my camera at the stunning buildings that make the city unique. And for as long as I’ve been a photographer, I convinced myself I wasn’t good at photographing people. As the introvert I am, it was the interaction and direction of people I wasn’t good at. But I’ve improved over the years, and in that time I realized that I do enjoy photographing people – just not in the traditional sense. I may not excel at event photography or headshots, but I love documenting people at work; construction workers, athletes, chefs, and even surgeons – like Dr. Bloom.
A Unique Opportunity in the Operating Room
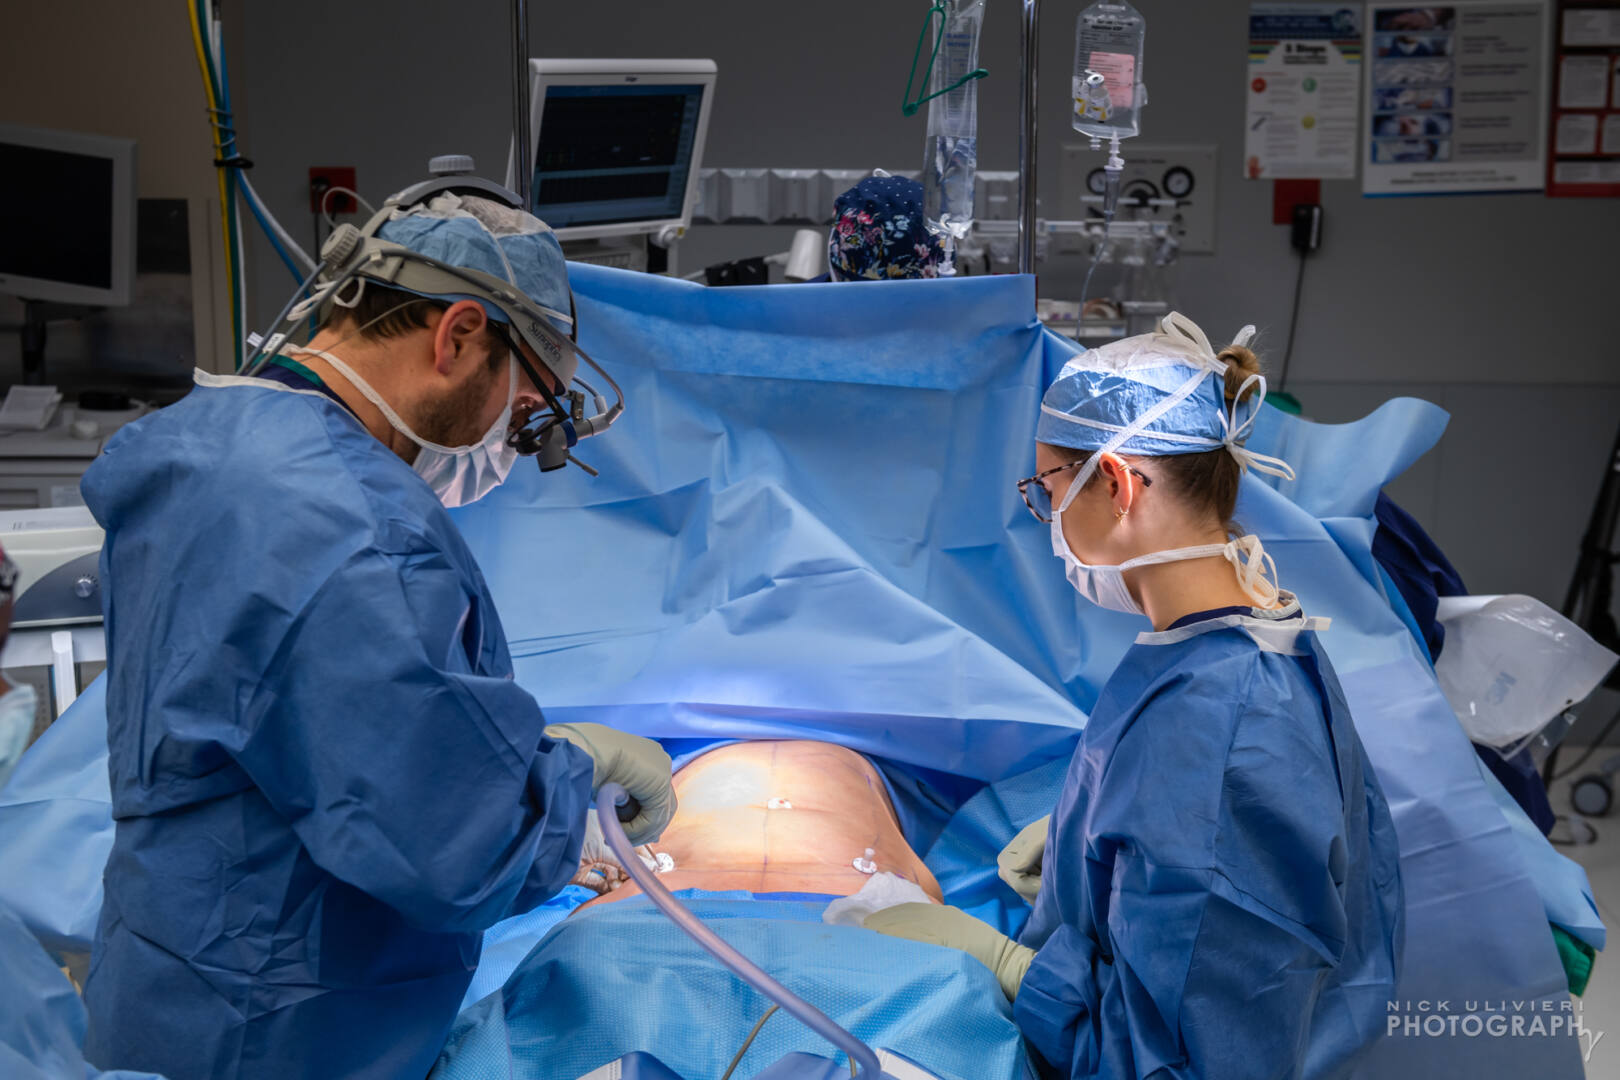
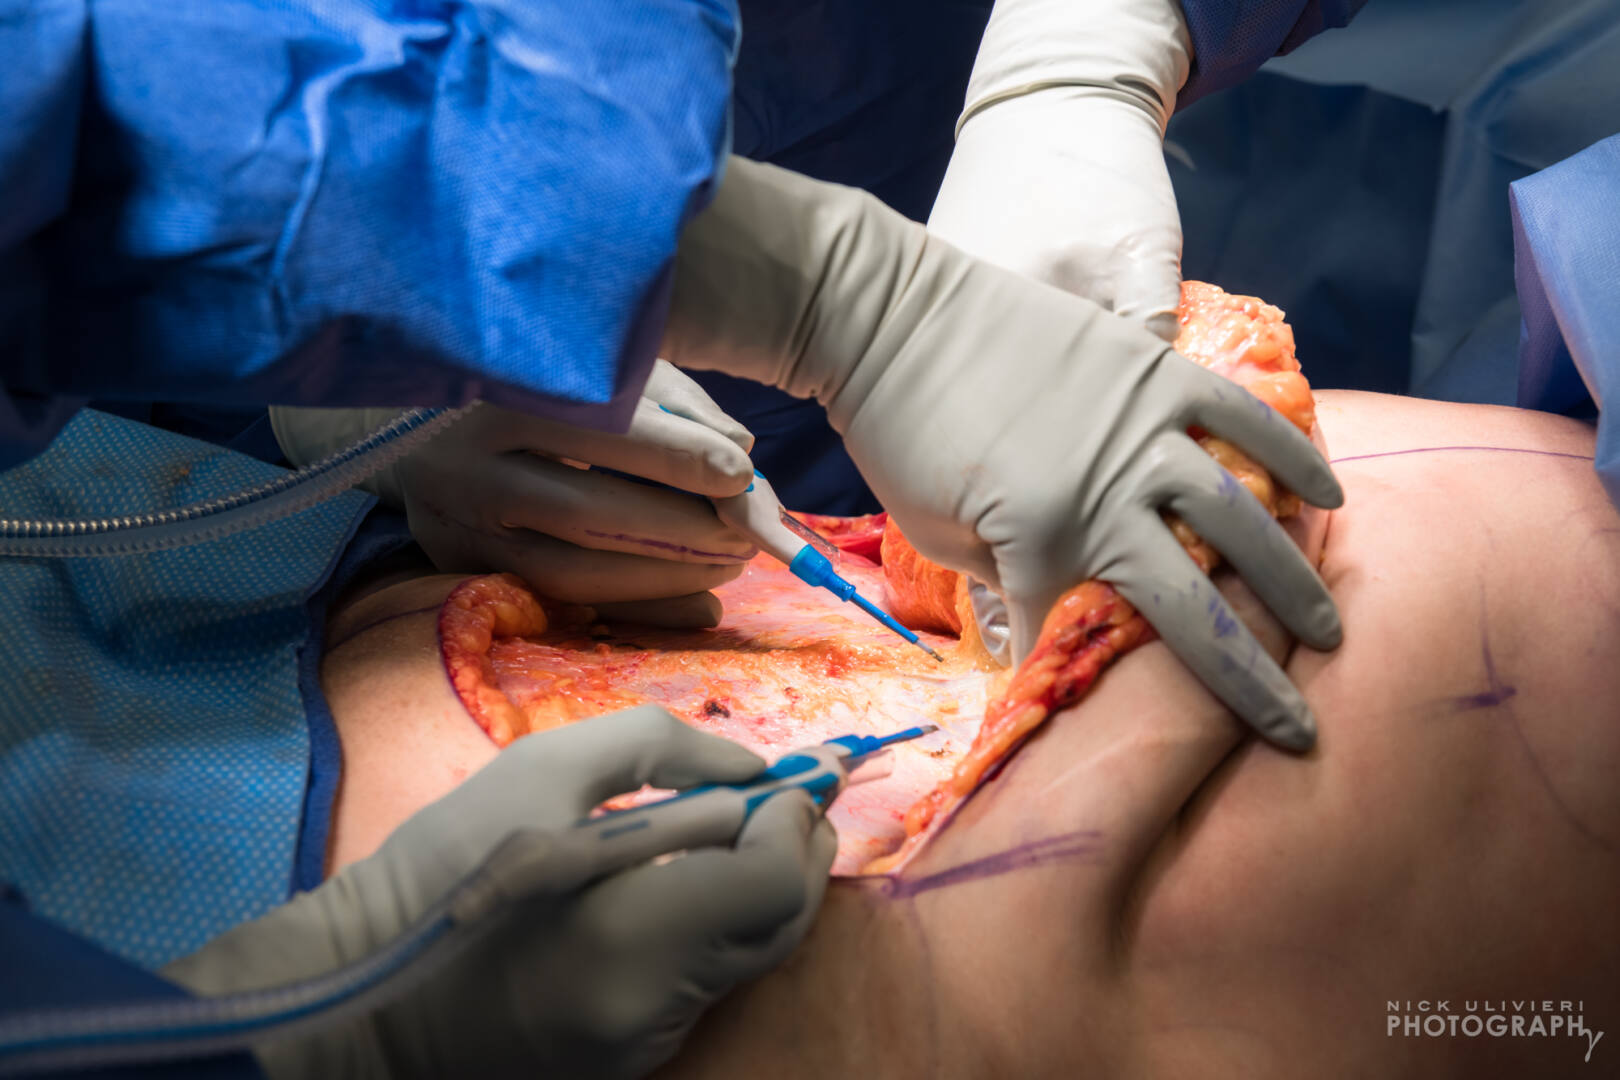
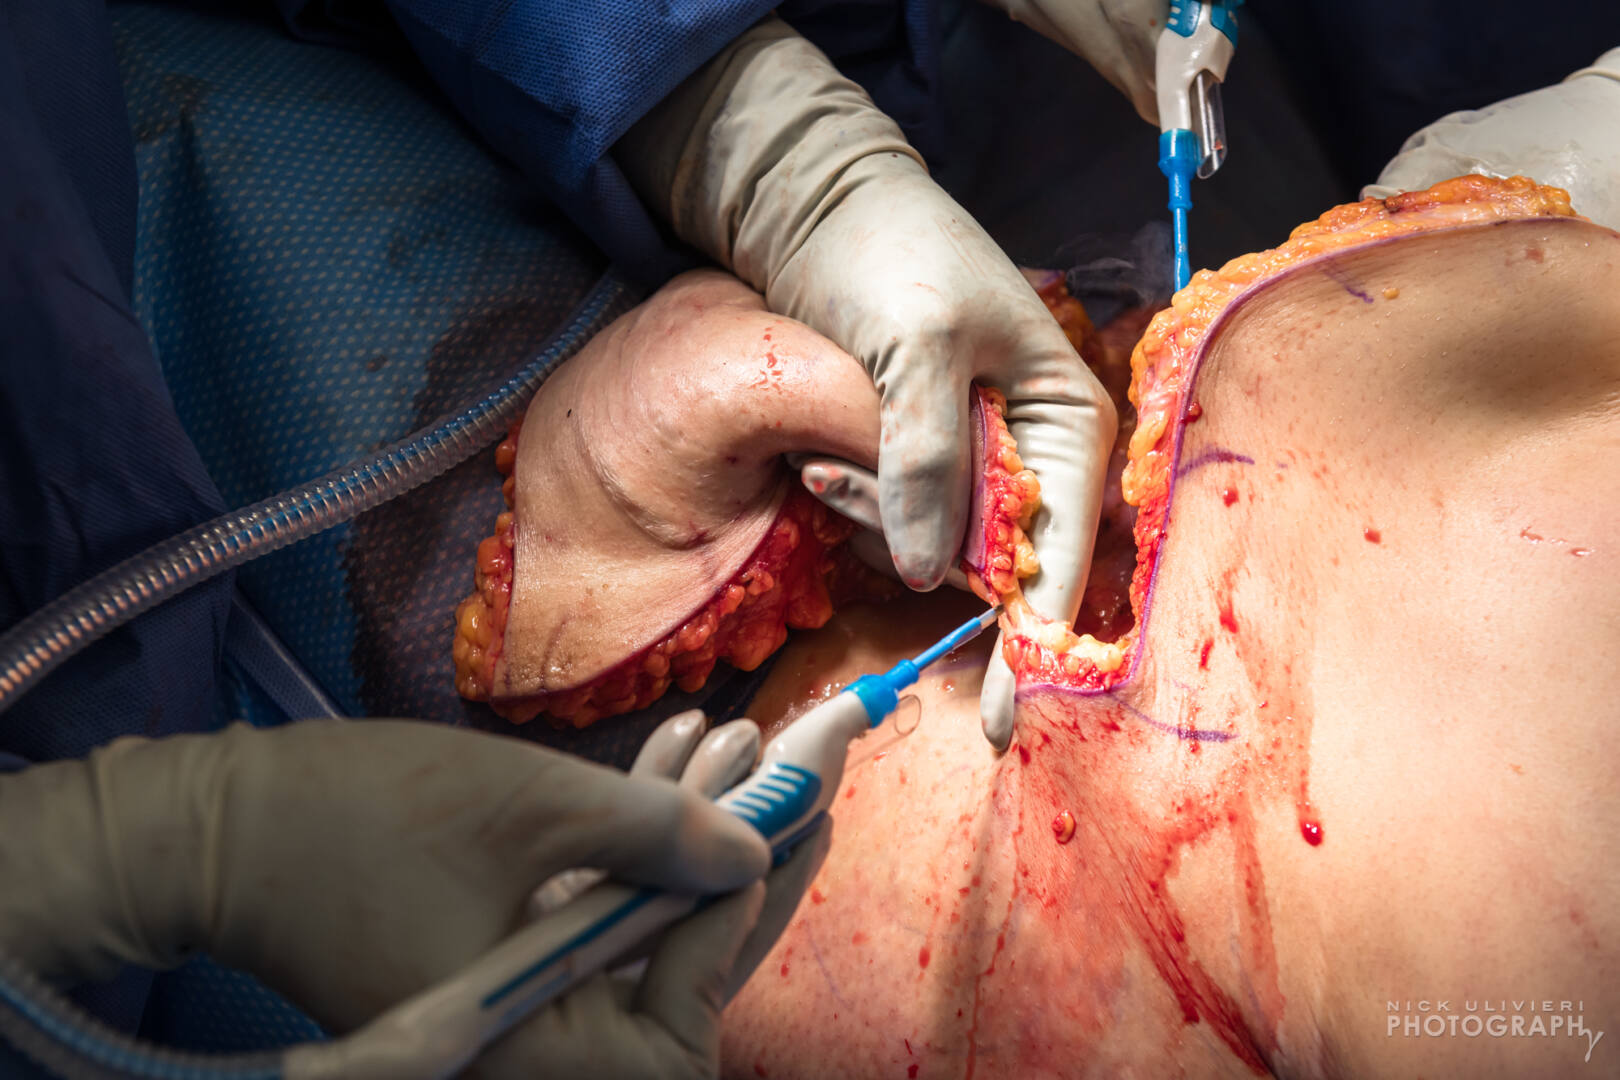
Recently, I teamed up with Dr. Jacob Bloom from Bloom Plastic Surgery to document an abdominoplasty procedure. This was my second time in the OR with Dr. Bloom. The first surgery I documented was much smaller in scale – a blepharoplasty. This was a great introduction to the clinical environment and the delicate work of plastic surgery. But this abdominoplasty was significantly more intense.
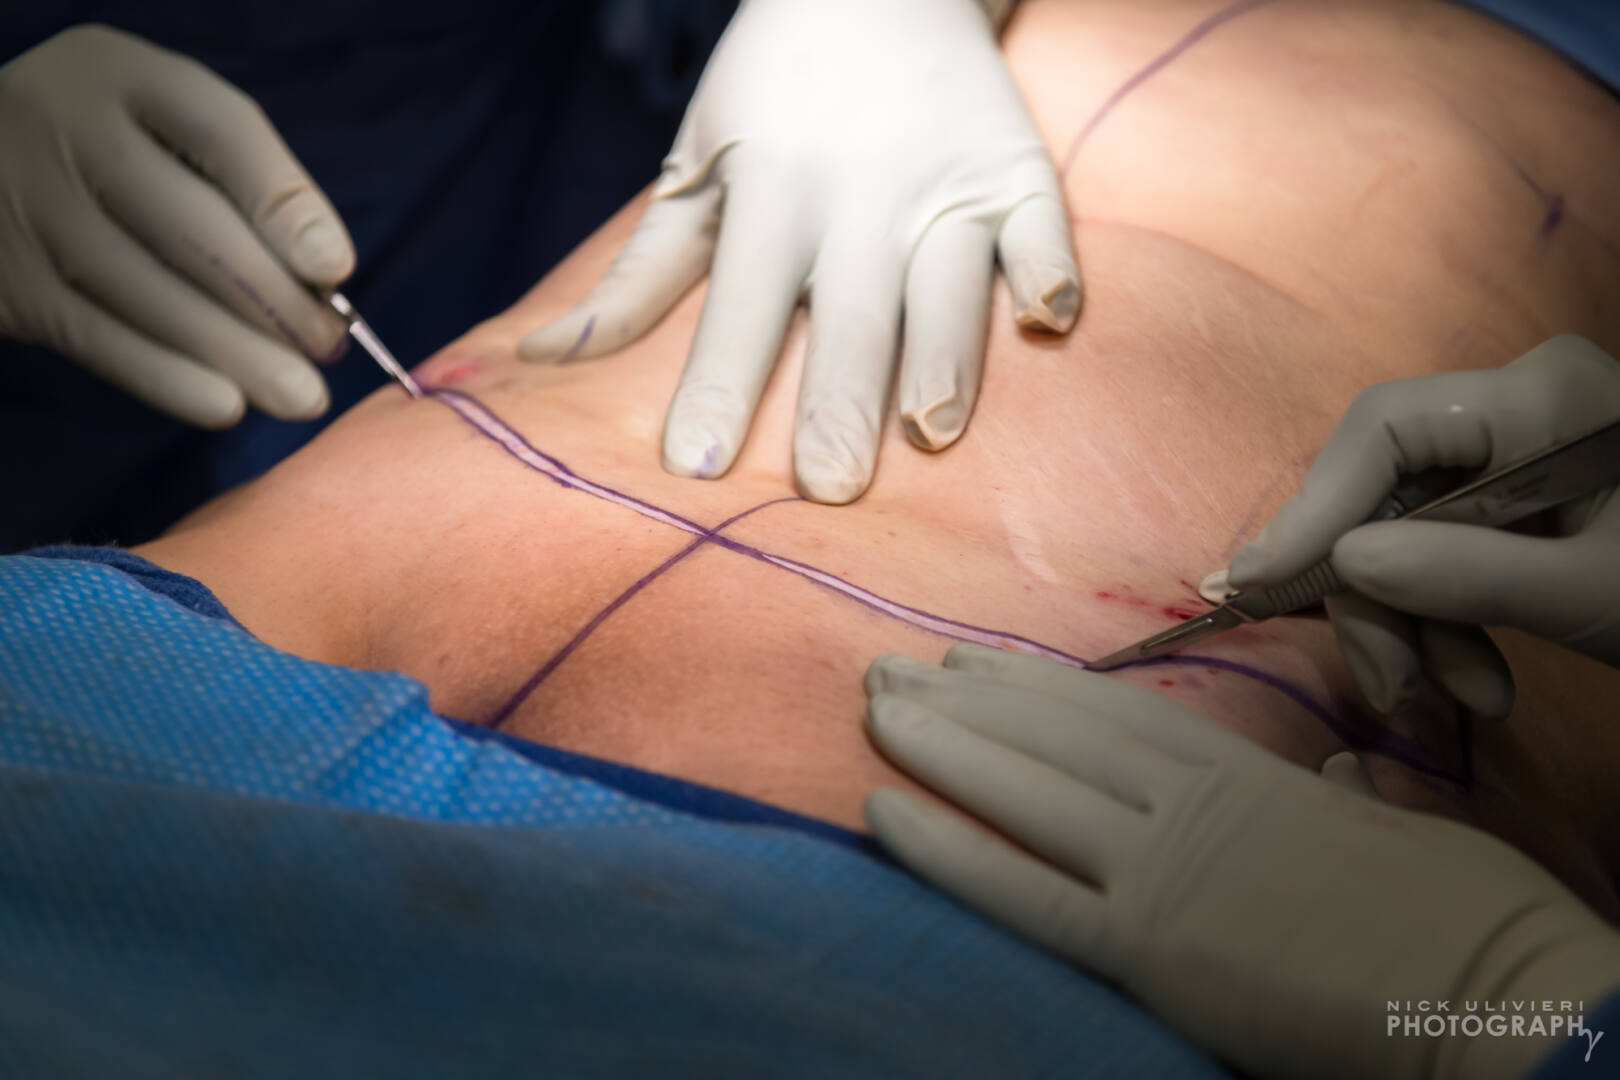
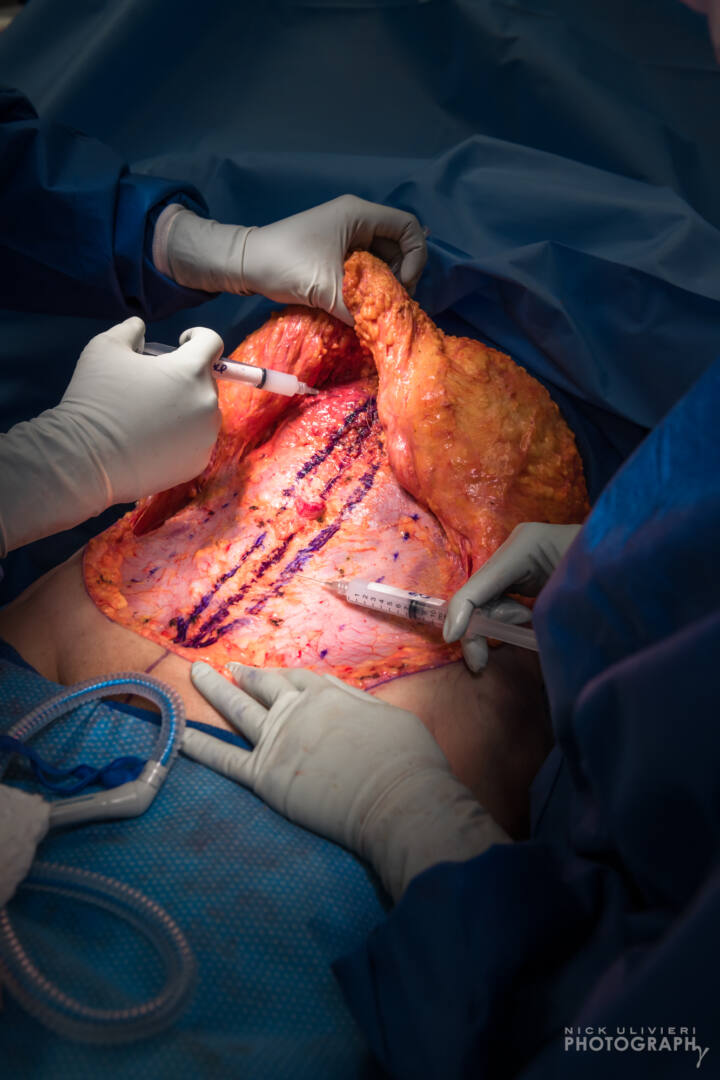
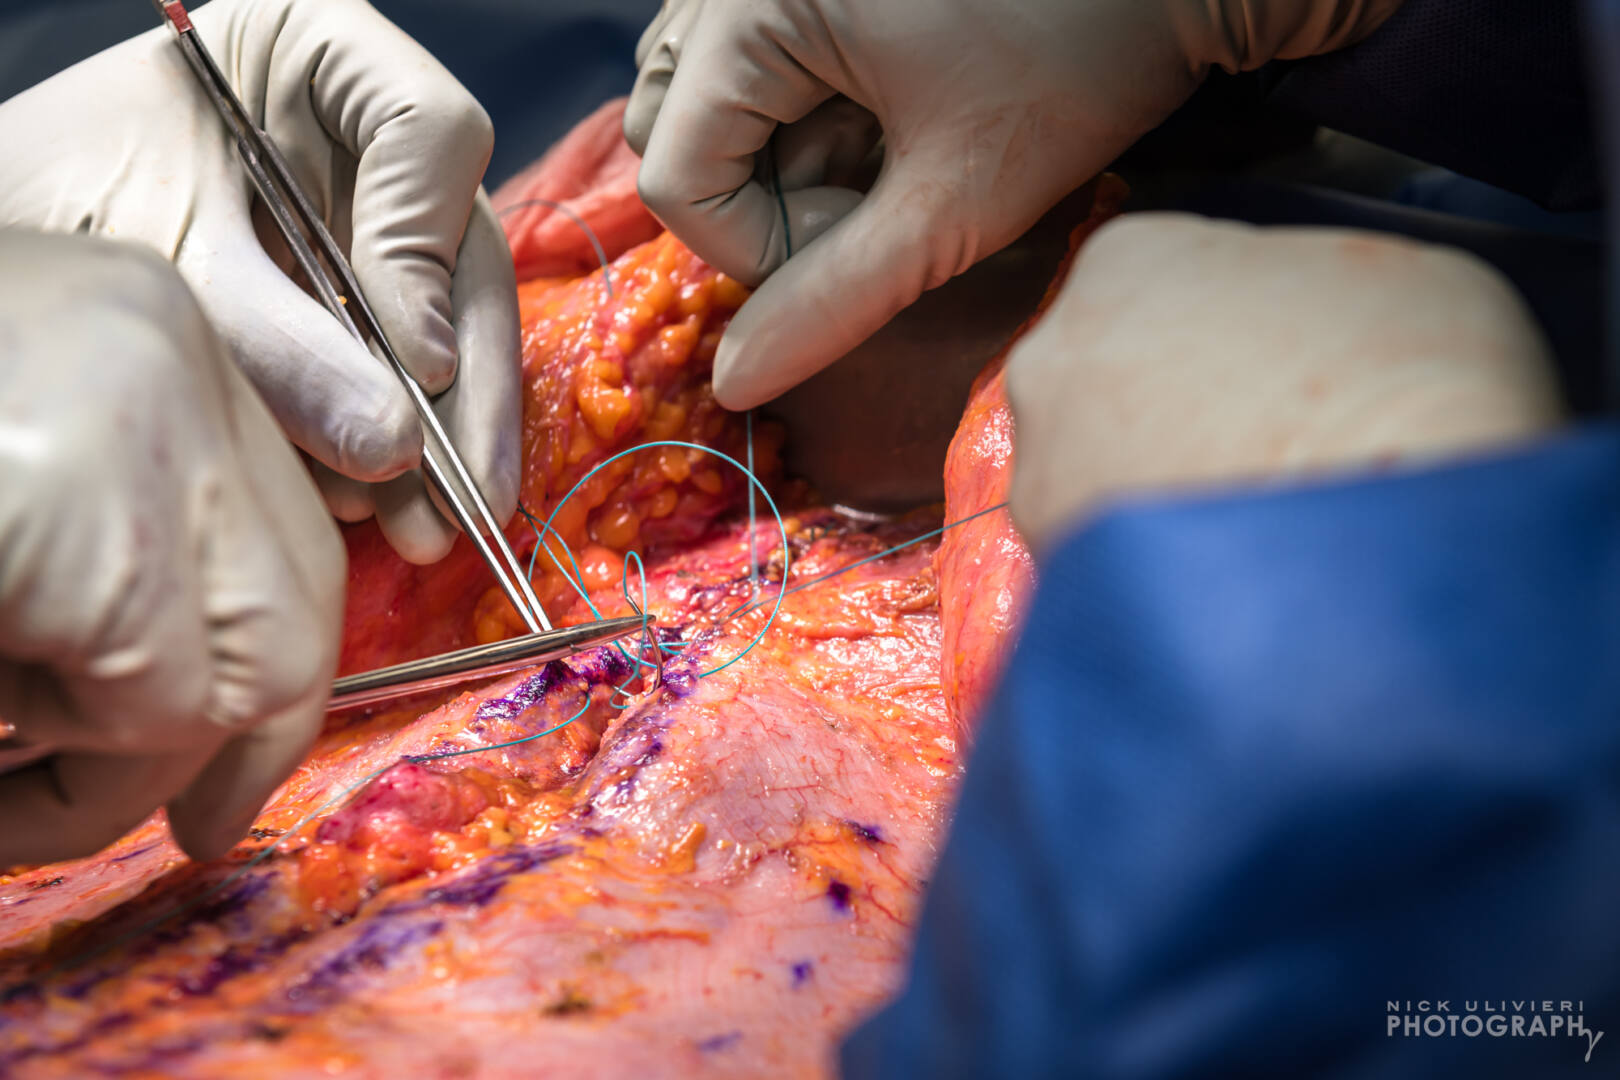
Fun fact about me: I aced my high-school anatomy and physiology class, so getting to experience and photograph internal “human architecture” up close was both a treat and a challenge. Meg Hosking, Dr. Blooms new Physician’s Assistant. assisted him during the operation. I had to stay focused, and be sensitive to the environment and the variety of people involved in the procedure. It was fascinating to see the artistry and skill that goes into altering the human body. Particularly when it came to the countless, fine stitches required to finish the surgery.
Goals of the Photoshoot
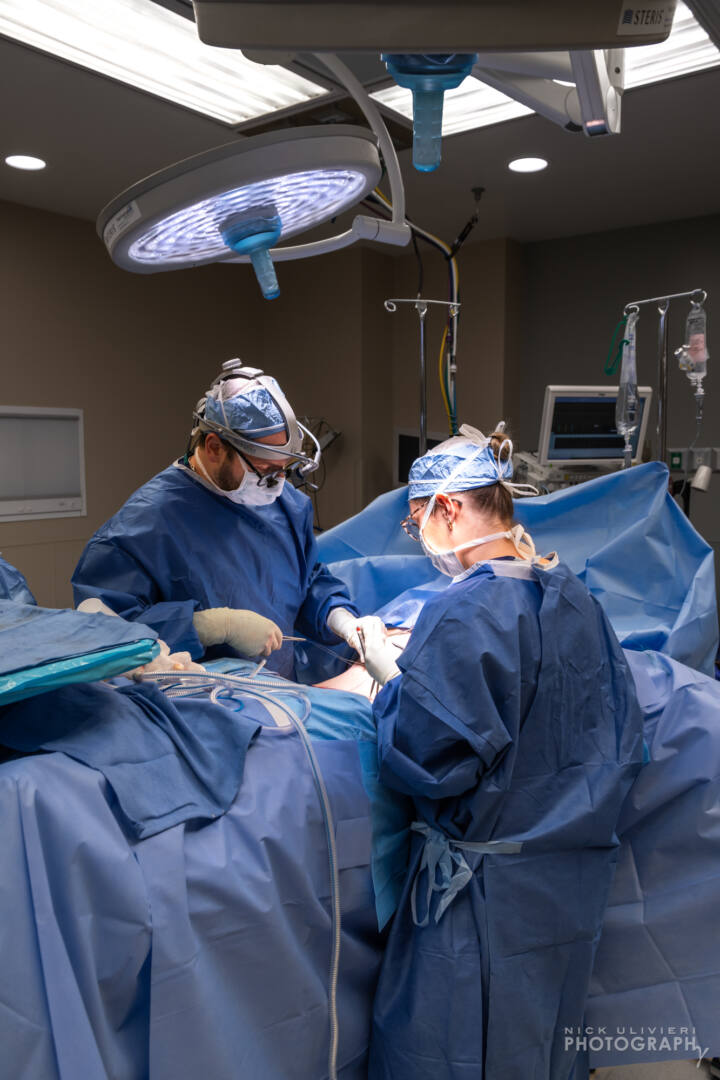
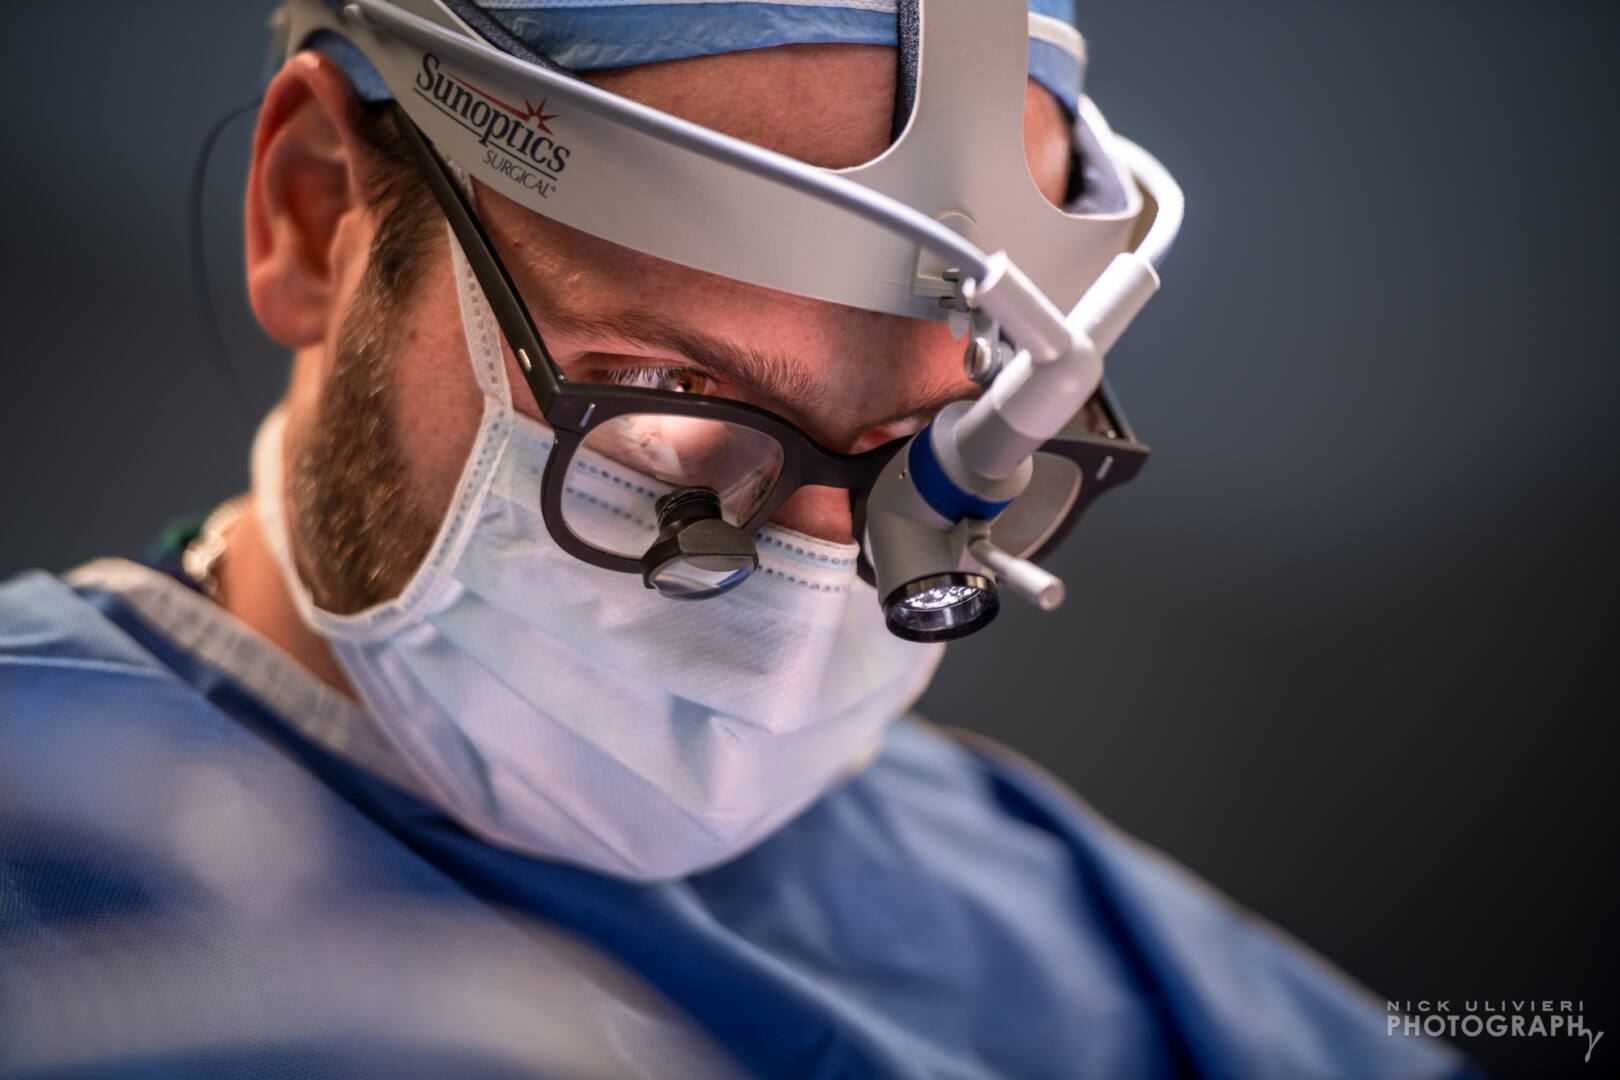
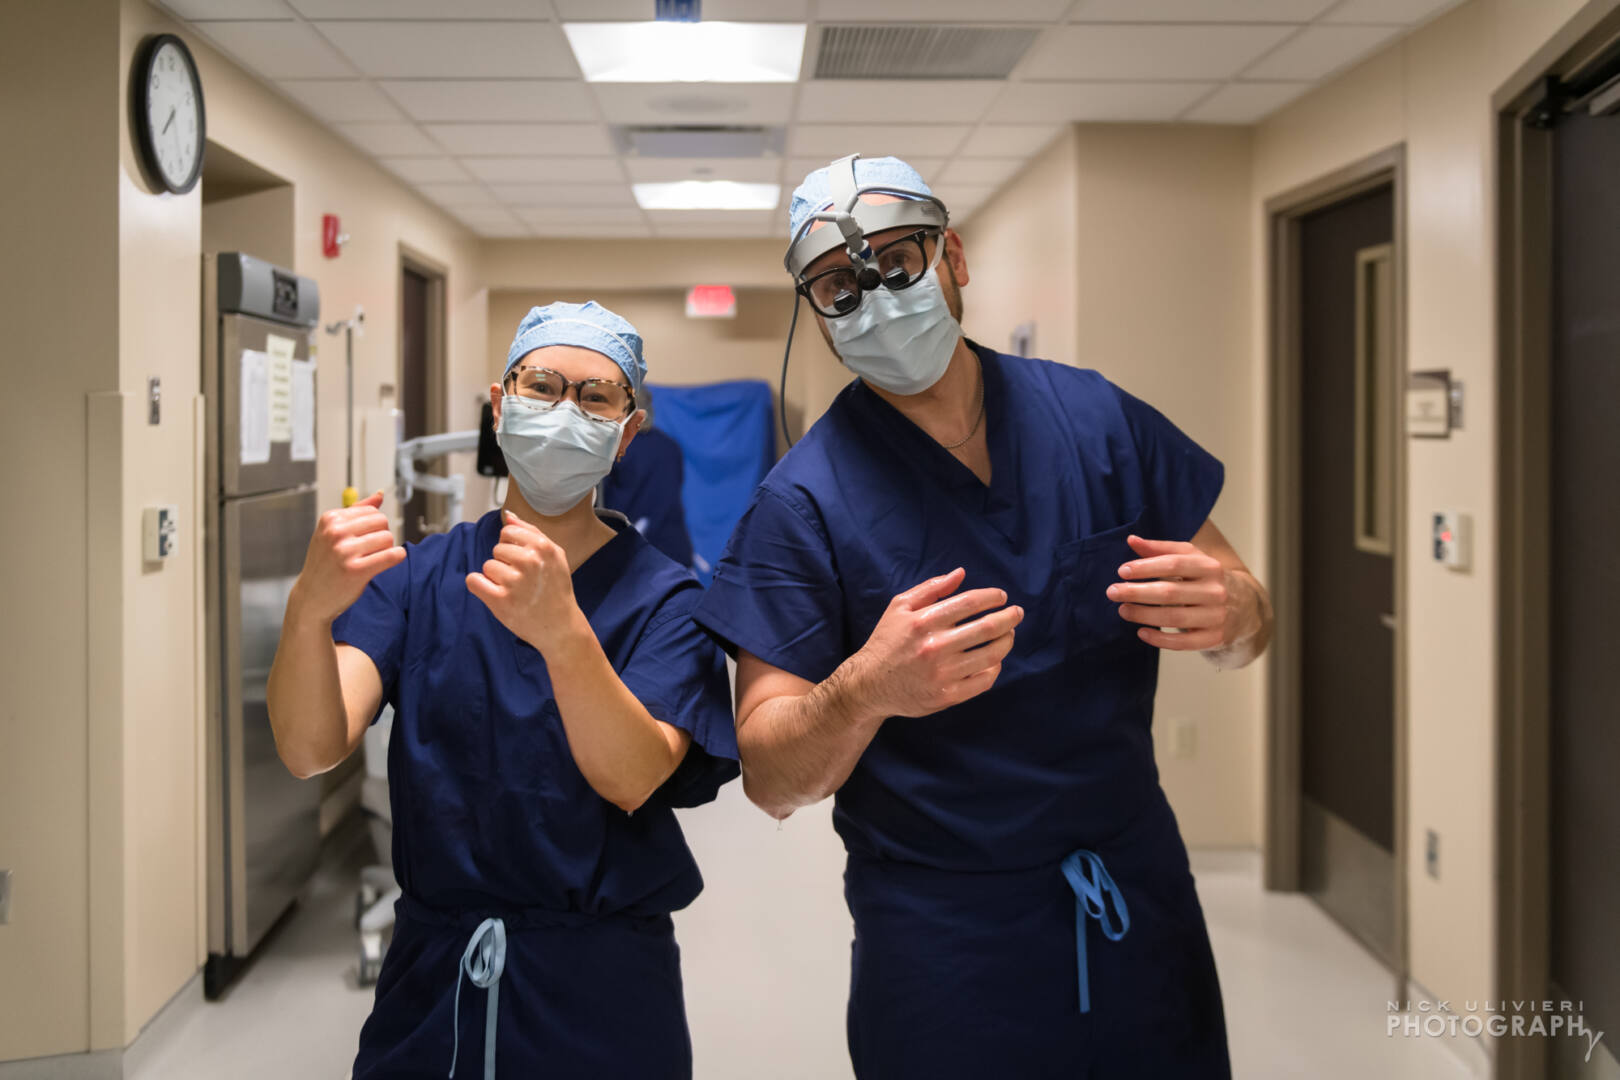
The goal of this shoot was twofold: 1) to get Dr. Bloom some high-quality operating room photos of a major surgery, and 2) to capture images of Dr. Bloom and Meg working together. Four (trained) hands are better than two when it comes to surgery!
Technical Challenges and Equipment Used
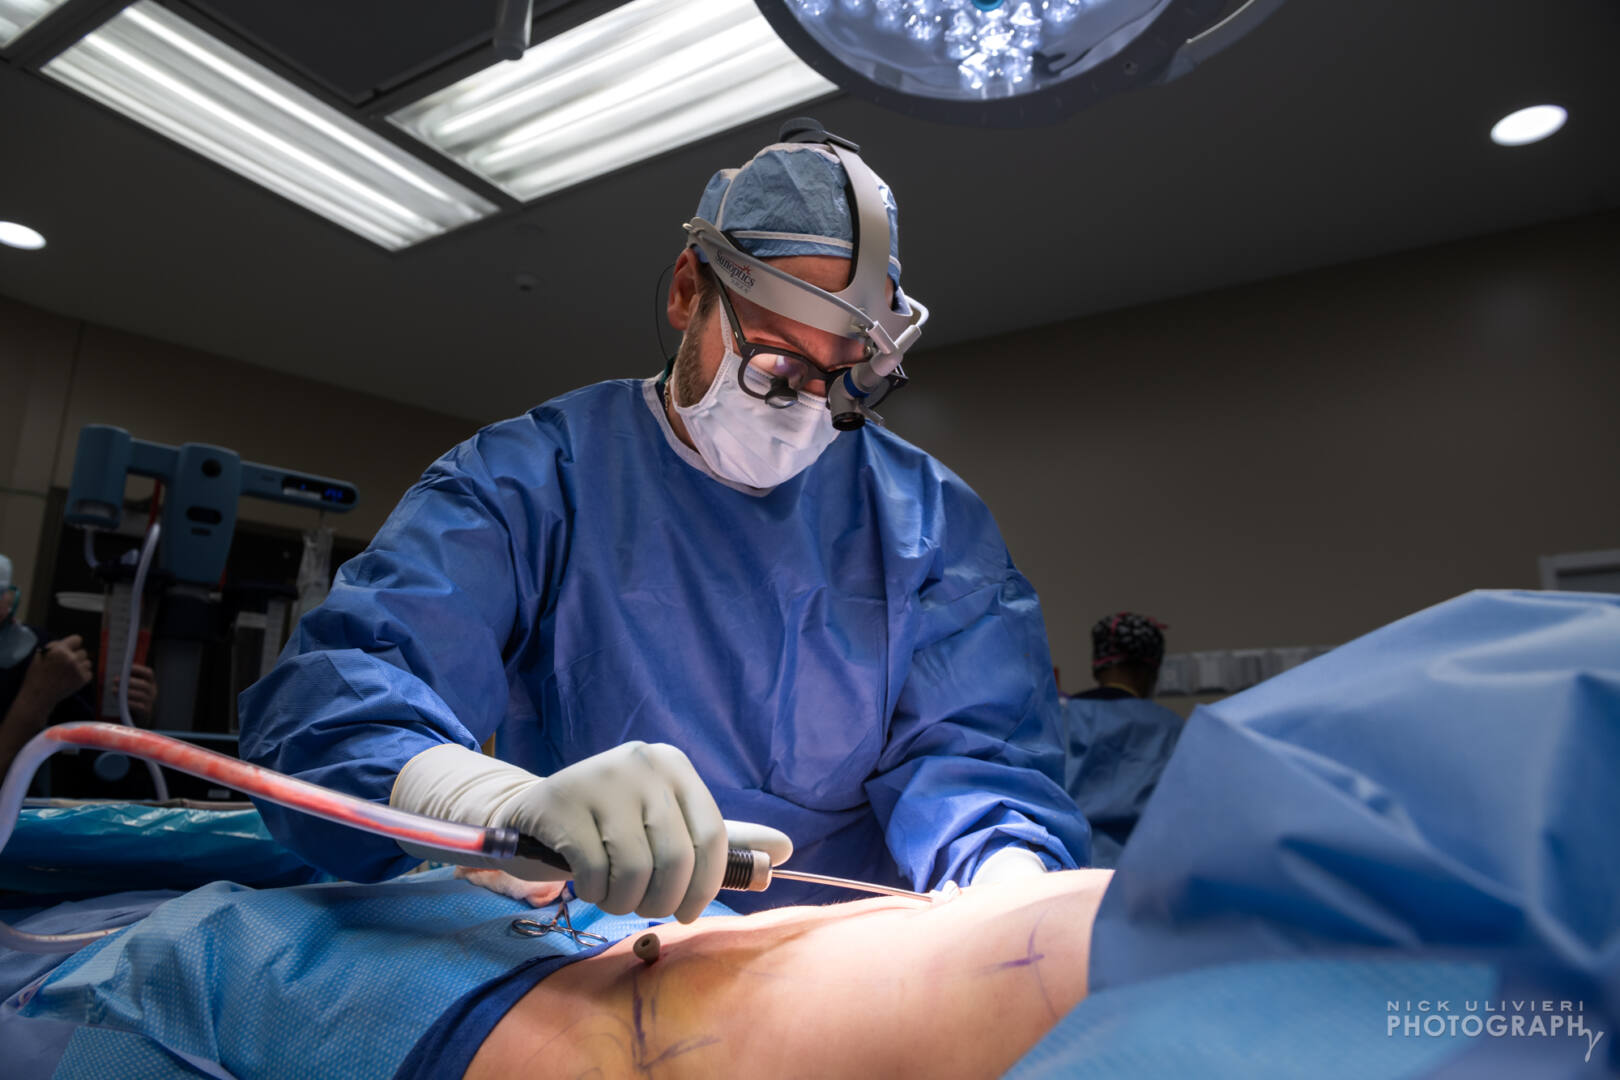
In case you’re wondering I shot most of this with a 24-70 lens. I used my 70-200 a bit, too. The biggest technical challenge was dialing in a proper exposure. The overhead surgery lights are so intense that it’s very easy to totally underexpose the area outside of the light beam. I shot bracketed to ensure I had a few different exposure to work with for those times I wanted to make sure the subject and background were as balanced as they could be.
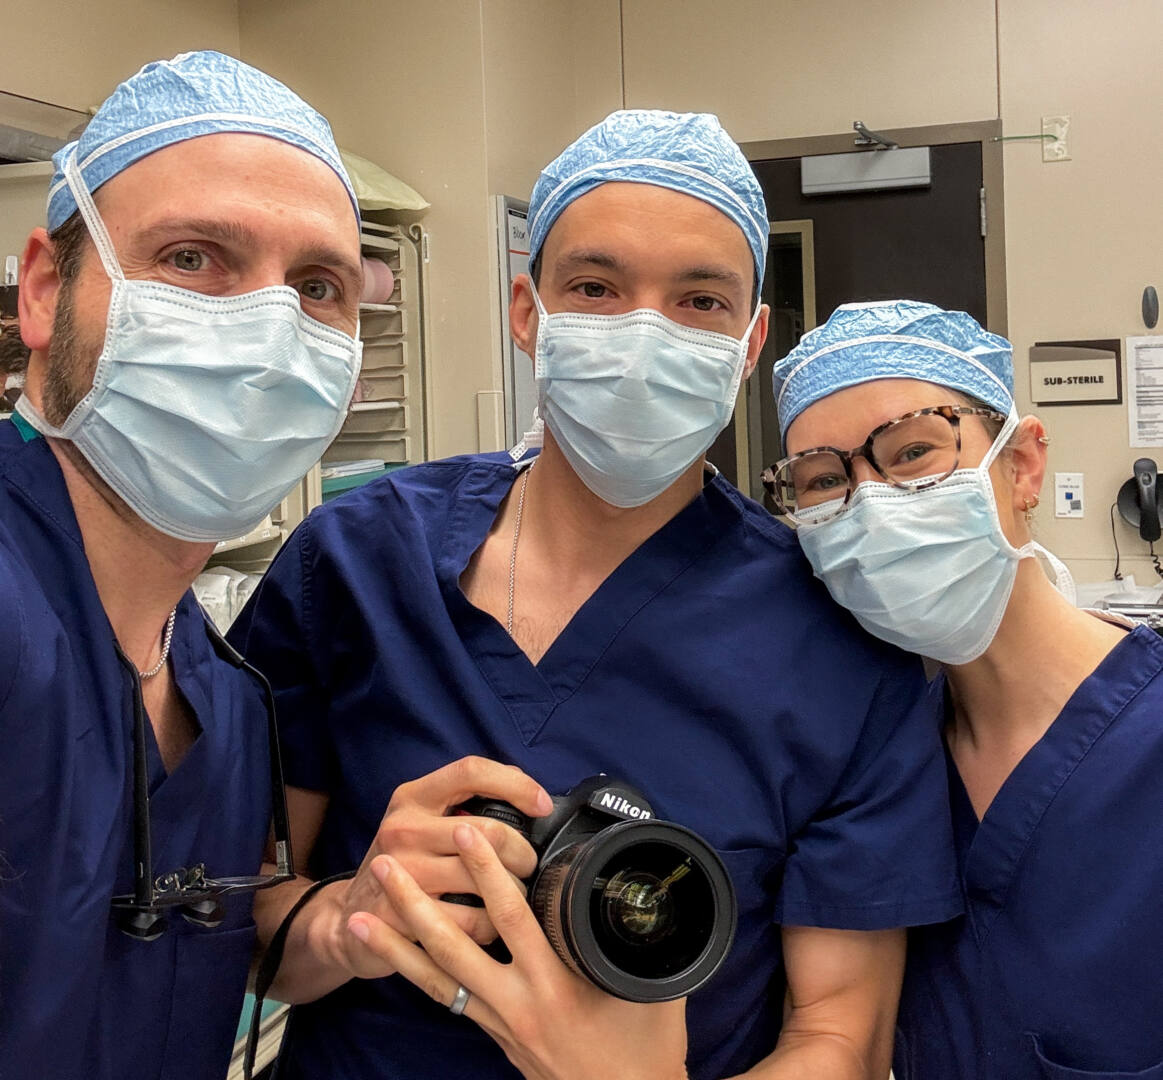
Here’s a photo of Meg and Dr. Bloom after they scrubbed-up, followed by a content warning. After that, the post features some very detailed but fascinating surgical images.
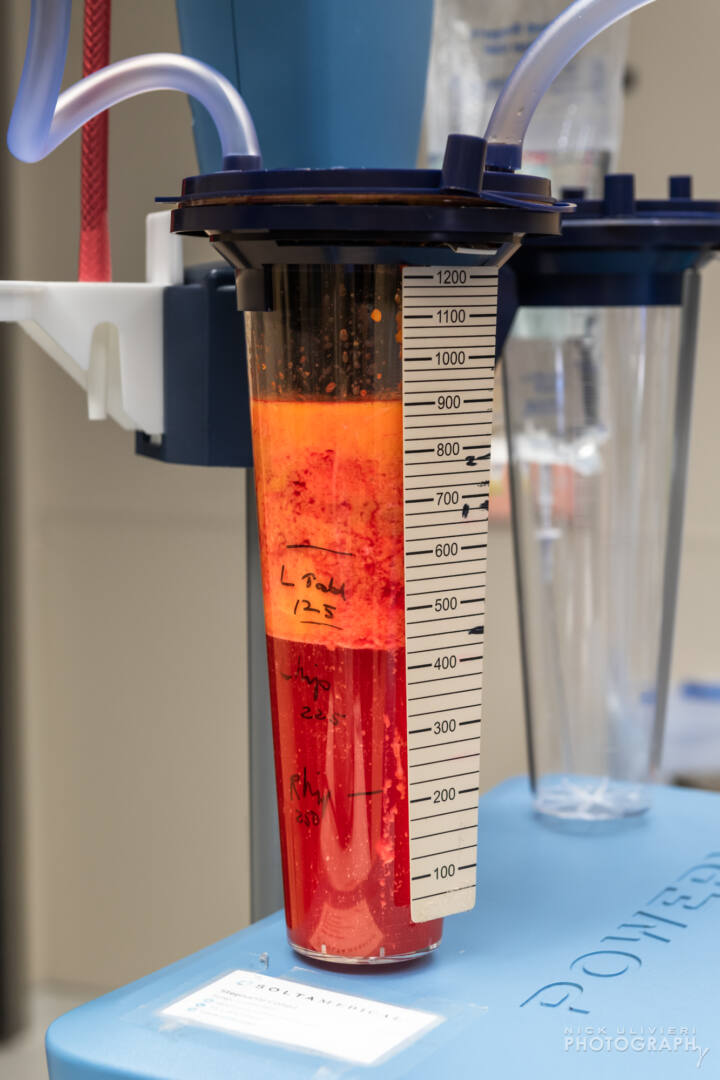
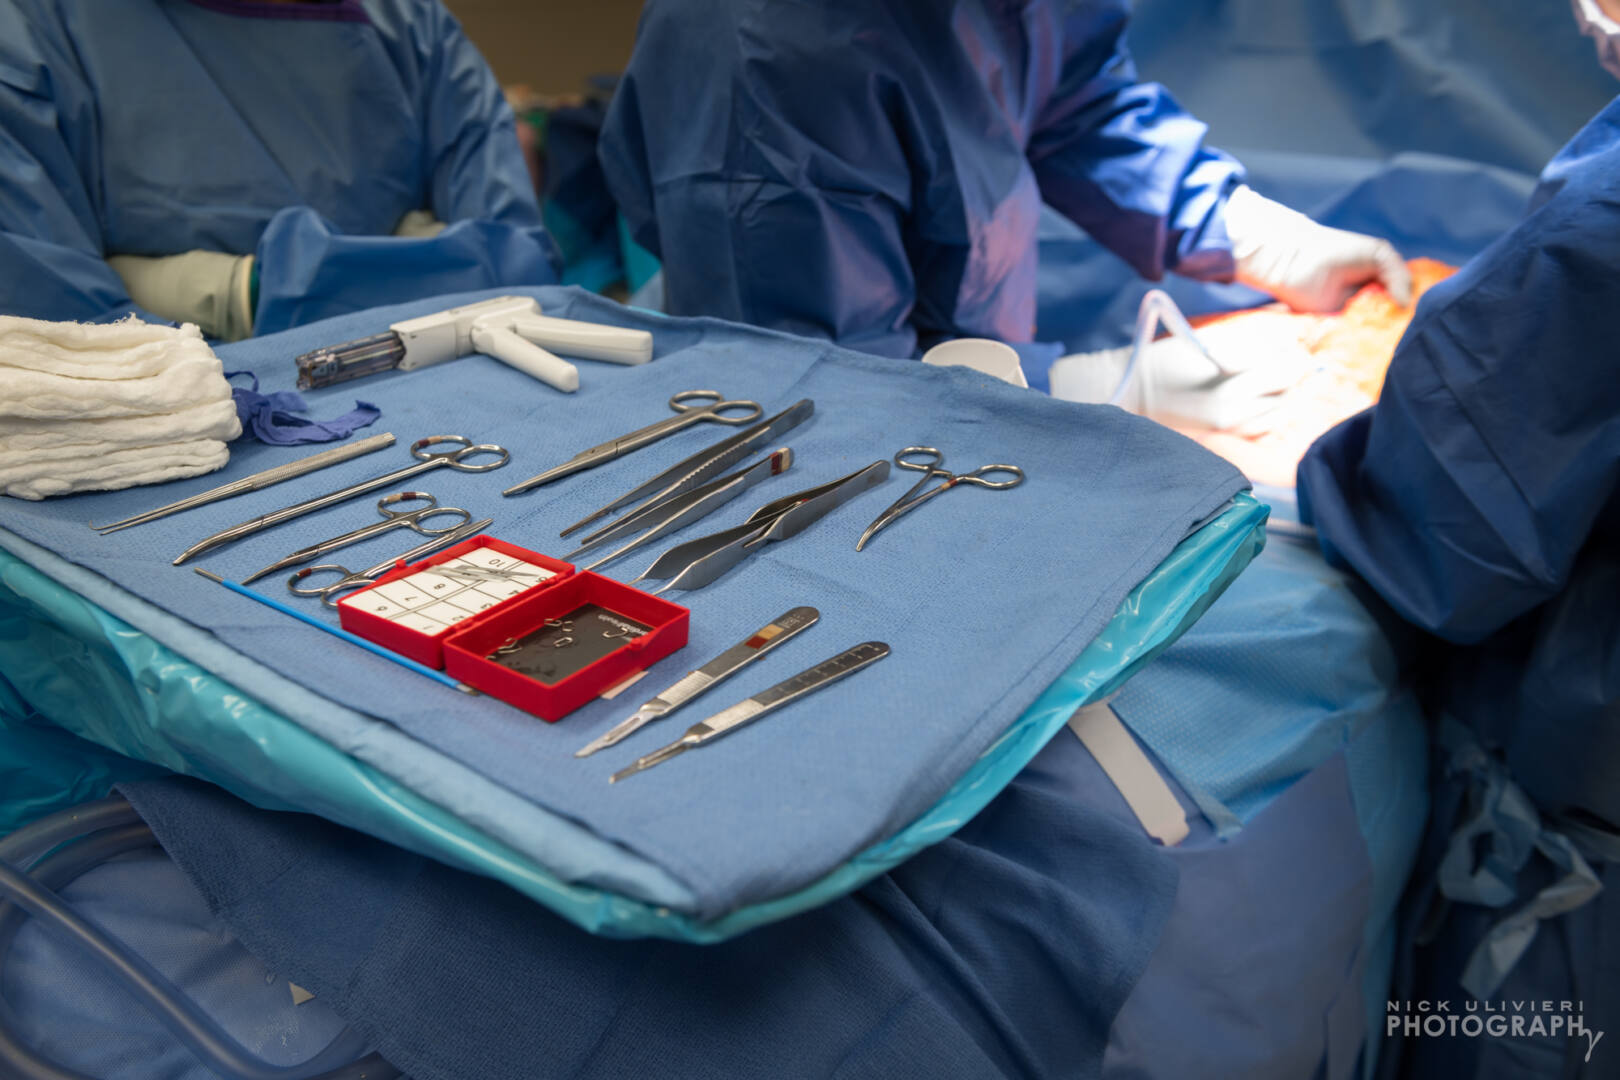
Surgery Photos