Jellies at the Shedd Aquarium
UPDATE (12/11/14): On January 4, 2015 the Jellies exhibit at the Shedd Aquarium will be CLOSING! So if you still haven’t seen this exhibit, I highly recommend you visit soon soon. Last night I had the pleasure of visiting the Shedd with some talented Instagrammers to take some final shots. Below, I’ve added some new photos and updated a few tips for photographing the jellies from my original post on January 14, 2013.
—————-
I’ll admit, despite living relatively close to Musuem Campus, I can’t remember the last time I visited the Shedd Aquarium. I finally to check it out this past week, and I was not disappointed. The Jellies exhibit has been a part of the Shedd since the summer of 2011, so chances are many of you have had a chance to visit. If you’re like me, and have neglected to visit for one reason or another, you should make the trip. The good news is that Jellies exhibit has been extended through 2013, so there is plenty of time to check it out.
I could have spent a lot more time in this exhibit but there is so much to do at the Shedd I continued on my way. My one bit of advice – Visit during an off-peak hours; preferably early in the morning, or late in the afternoon on a weekday – especially if you plan to spend time photographing the jellies. The aquarium can get extremely busy on the weekends, so in order to spend extra time close to the tanks (without being an annoyance) you’ll want to be there when relatively few others are. People want to see the jellies, not you standing in front of them with a camera
Photographing the Jellies
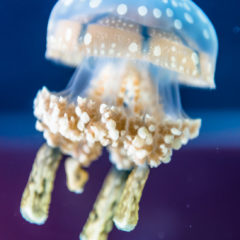
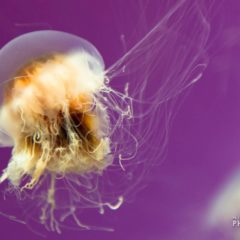
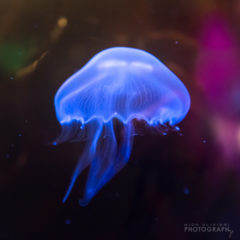
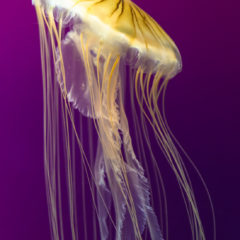
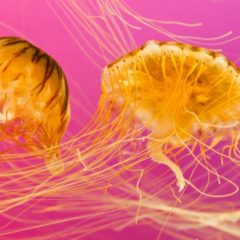
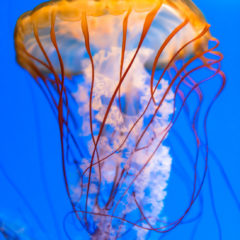
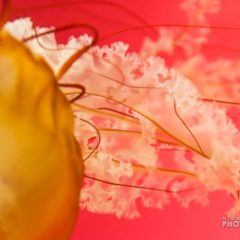
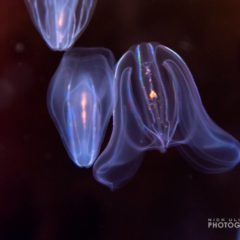
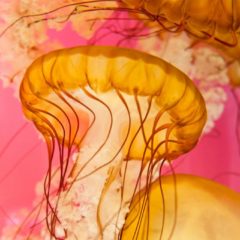
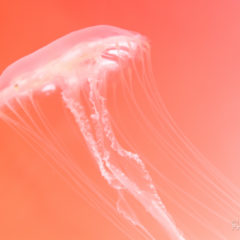
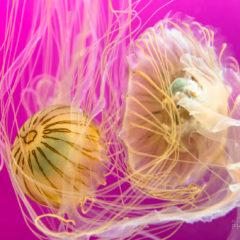
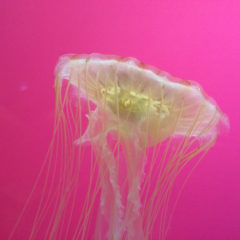
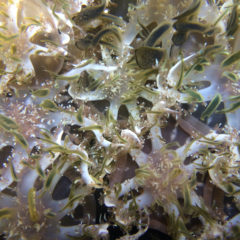
The jellies are just as beautiful to photograph as they are to watch. The colors in the various tanks do a great job complimenting the natural, and at times brilliant, colors of the jellies, and their delicate movements and organic shapes lead to many interesting compositions. However beautiful, there are some challenges in shooting their “portraits”. Here are some tips for shooting:
1. Shoot straight on, and get close: The jellies are obviously floating in a tank, which means you’ll be shooting through a pane of glass. And no matter how good the lens you’re using is, shooting through an extra piece of glass that was built for safety/containment purposes immediatley degrades the image. Shooting with your camera relatively parallel to the glass wil lessen the distance the light rays have to travel through the medium, and will minimizes distortion and loss of contrast/clarity. Additionally, when you’re looking through the viewfinder, don’t just look at the jelly, also be aware of any reflections on the glass from lights overhead and behind. If you can avoid these reflections in your shot, it will make it look as if you’re underwater with them.
2. Camera settings: Settings will vary from jelly to jelly based on the lighting scheme present in each tank. Some are brighter than others, but generally, even the most well-lit tank is relativley dark when it comes to photography. You’ll probably want to crank up the ISO to about 1000+ to get quick enough shutter speeds to freeze the jellies in place. You may end up with a noisy image, but I’d rather have noise than a slightly blurry image due to subject movement (exact settings are show in the expanded photos’ titles)
3. Be patient: These jellies aren’t the easiest thing to photograph. Their soft edges make nailing the proper focus difficult and the right angle/lighting can be hard to find. But you just have to keep trying and take a ton of shots. What might not look good on your LCD screen can turn out to be really beautiful once you get it not your computer screen.
4. Don’t use a flash: Just don’t. If you are shooting with automatic settings, be sure to turn the flash off. All the flash will do is reflect off of the glass and completely ruin the image. And it’s against the rules, so there’s that.
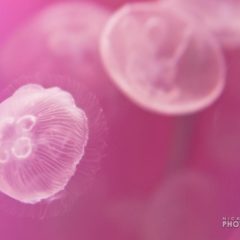
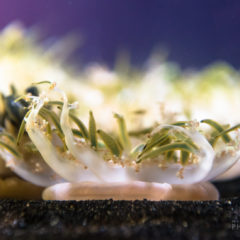
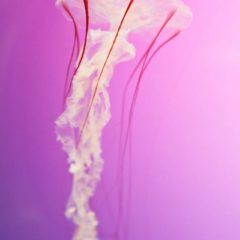
Click to enlarge – In each photo’s caption, I’ve detailed the exact settings used.
*All above images were shot in the RAW format and editied in Adobe Lightroom
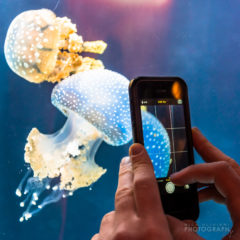
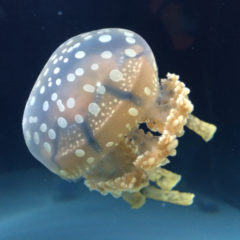
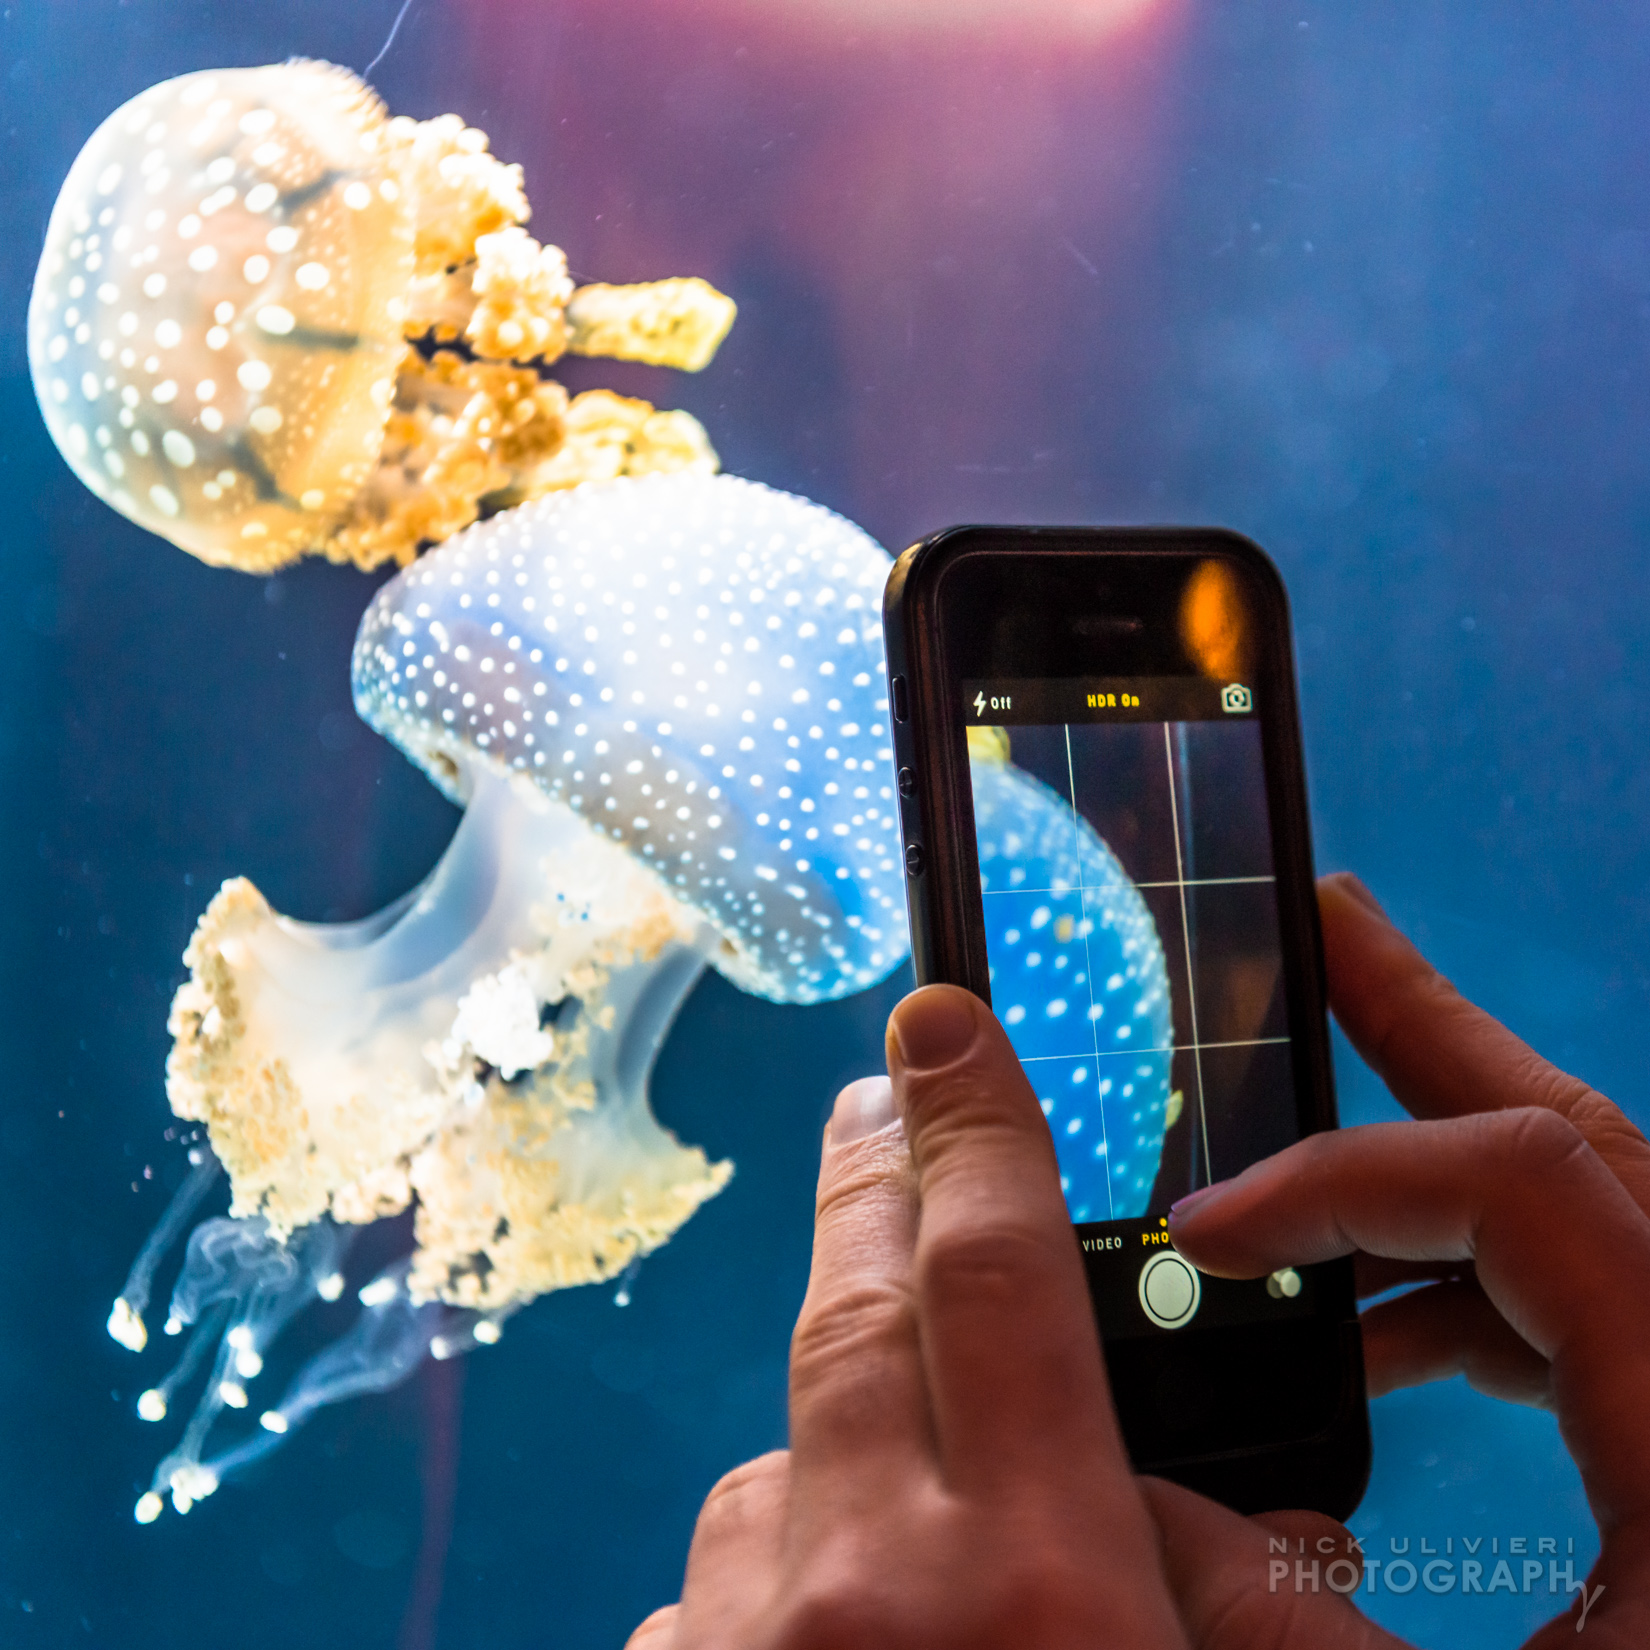
One last thing…You don’t need a DSLR to photograph the jellies. Despite the difficult shooting conditions, great photos can be had with your camera phone, too! Here are a few shots I took with my iPhone 5s last night. These images are not edited at all – they’re straight from my camera roll.

